
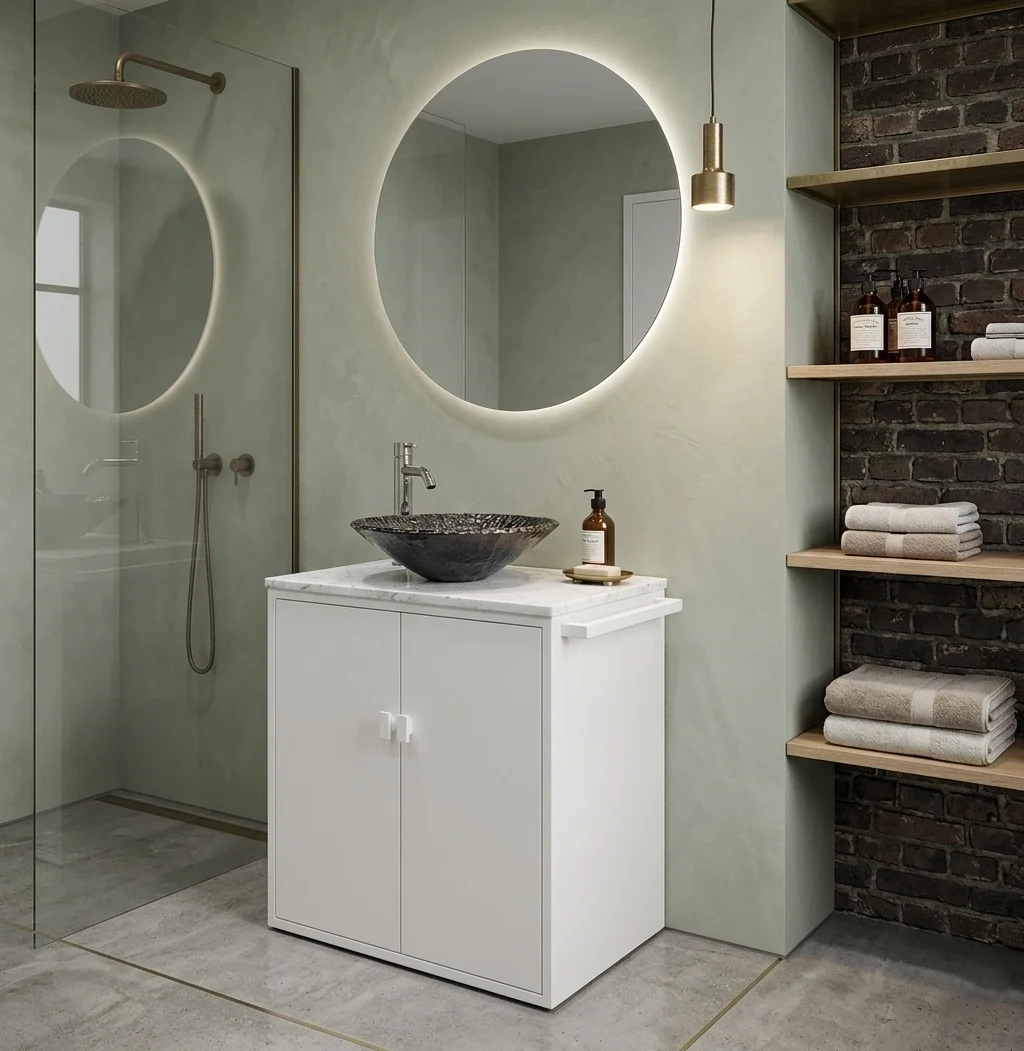
Our Services
Bathroom & Shower Tile
Waterproofed substrates, precise pattern layouts, and grout lines that will still look right years from now.
What This Service Covers
Bathroom tile is the trade where poor prep shows up fastest. A shower surround that was installed without a proper waterproofing membrane will start leaking behind the wall within a few years, often without visible warning until the damage is significant. We apply a sheet or liquid waterproofing system over the cement board before any tile goes up, every time, in every wet area.
Beyond waterproofing, the work that goes into a well-tiled bathroom involves decisions most homeowners do not see. We plan the tile layout on paper before the first tile is cut, centering the pattern on the most visible wall rather than starting from a corner. We use a diamond blade wet saw for clean cuts around niches, drains, fixtures, and corners. Shower niches get the same waterproofing treatment as the walls around them, with a slight back-slope so water does not pool.
We work with porcelain, ceramic, natural stone, marble, glass mosaic, and large-format tiles in bathroom settings. Each material has specific requirements for adhesive type, trowel notch size, and grout joint width. We match those to the tile and the application rather than using a one-size approach.
Typical Scope of Work
Most bathroom tile projects with us include some combination of the following:
- Removal of existing tile and assessment of the substrate beneath
- Cement board or mortar bed installation where needed
- Waterproofing membrane in all wet areas
- Tile layout planning and dry-lay before setting
- Full tile installation with appropriate thinset coverage
- Grouting with a penetrating sealer applied after cure
- Caulk at all changes of plane (corners, floor-to-wall joints)
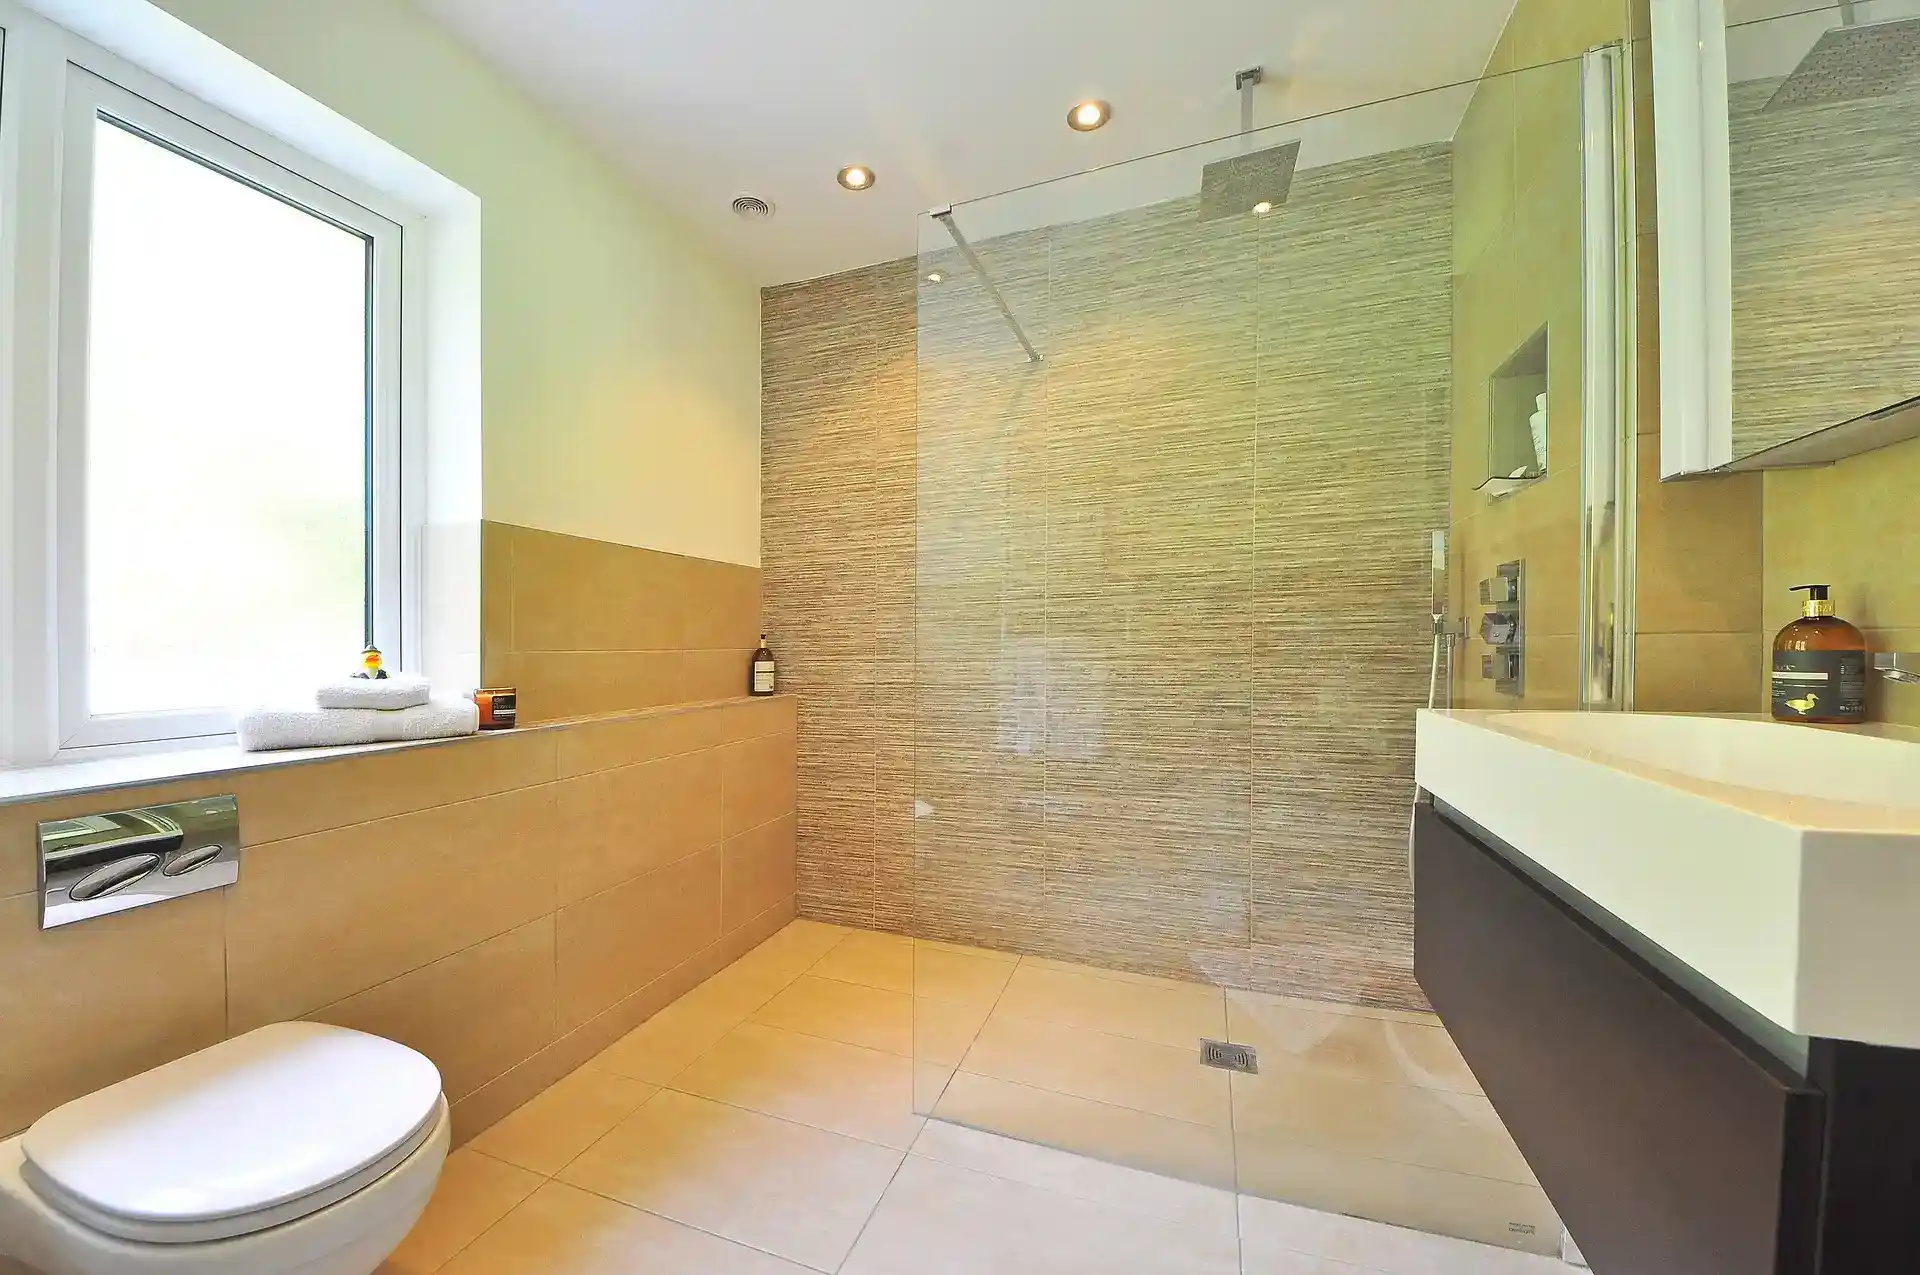
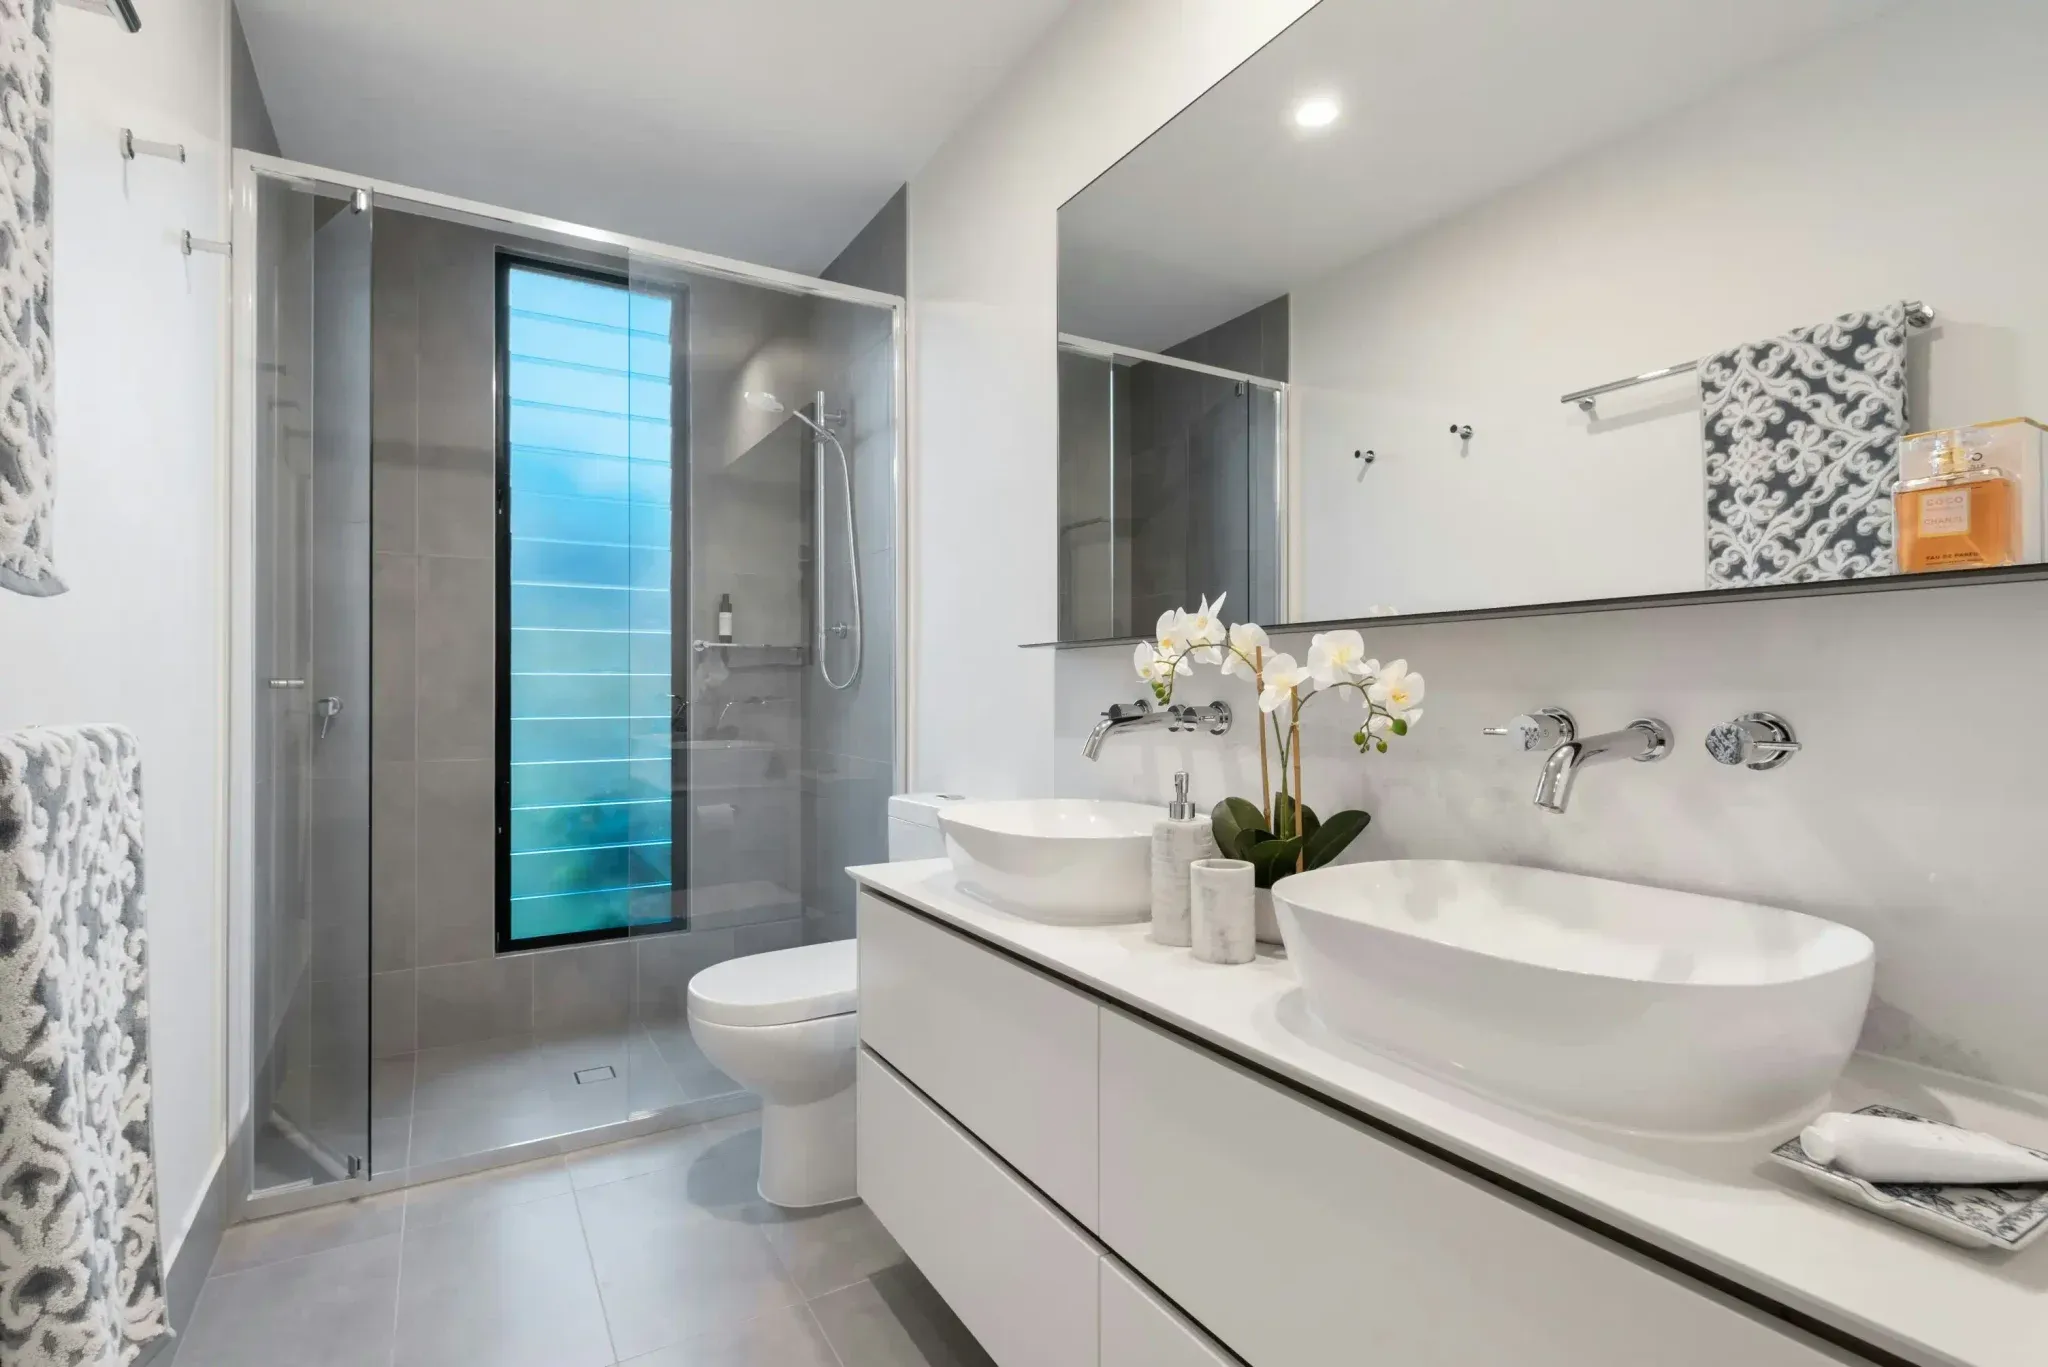
How a Bathroom Tile Job Unfolds
Walkthrough & Scope
We look at the existing substrate, check for moisture, measure the space, and discuss the tile you have in mind. You get a written estimate before we schedule work.
Demo & Substrate Prep
Existing tile comes out. We inspect and repair the substrate, install cement board where needed, and apply waterproofing to all wet areas before any new tile is touched.
Layout & Setting
We snap chalk lines and dry-lay the tile to confirm the pattern before mixing thinset. Back-buttering is used on larger tiles to ensure full adhesive coverage behind every piece.
Grouting & Finishing
After the thinset cures, we grout, clean the tile surface, apply caulk at all corners and transitions, and seal the grout. We do a final walk-through with you before leaving.
More Bathroom Tile Work

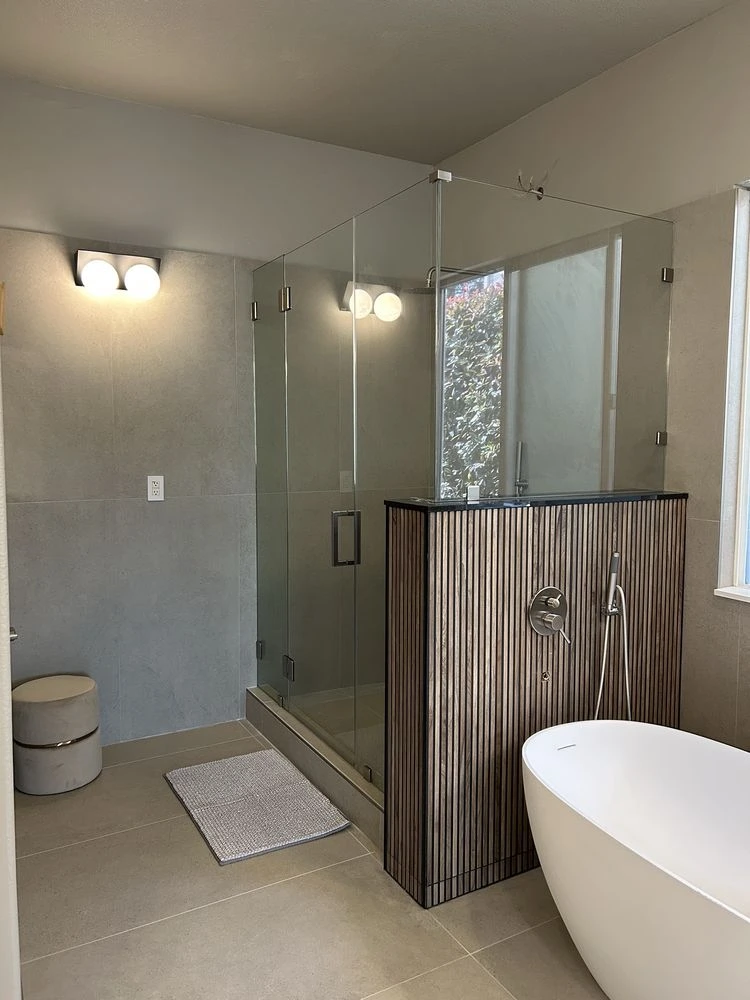
Where We Do This Work
Bathroom and shower tile installation is available across our service area. Each community has its own typical home styles and substrate conditions:
Ready to talk through your bathroom tile project? Call us or send a message.